WebpShop plugin on mac willl help your productivity shoot high as it omits the need to optimize your artwork while uploading. If you’re a designer or photographer using Photoshop on a Mac, working with WebP files is now easier than ever, thanks to the WebPShop Plugin by Google. WebP is a web-friendly image format with smaller file sizes and efficient quality retention. However, since Photoshop doesn’t natively support WebP, installing the WebPShop Plugin is essential.
Here’s an easy, step-by-step guide to install WebPShop on your Mac.

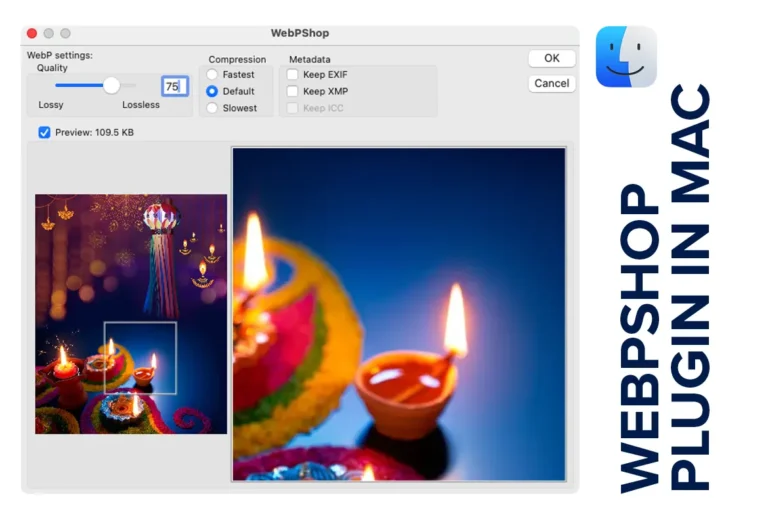
Why Use the WebPShop Plugin on Mac?
WebP images are ideal for online use as they save space while maintaining quality, resulting in quicker loading times for websites. WebPShop allows you to open and save WebP images directly in Photoshop, streamlining your workflow.
Step-by-Step Guide to Install WebPShop Plugin on Mac
Step 1: Download the WebPShop Plugin
First, download the plugin from the official WebPShop GitHub release page. This downloads a .zip file that contains the necessary WebPShop plugin file for installation.
Step 2: Extract the Plugin File
Locate the downloaded .zip file (usually in your Downloads folder) and double-click it to extract the contents. This will reveal the WebPShop.plugin file, which you’ll use in the installation.
Step 3: Move the Plugin File to Photoshop’s Plug-ins Folder
Now, open the Applications folder on your Mac, navigate to Adobe Photoshop > Plug-ins, and place the WebPShop.8bi file in this folder. Moving it here enables Photoshop to recognize and activate the plugin.
Step 4: Open Terminal
Now, open Terminal on your Mac. You can find Terminal by pressing Command + Spacebar, typing “Terminal,” and pressing Enter.
Step 5: Enter the Terminal Command to Remove Security Quarantine
Mac’s security restrictions might prevent the plugin from running, so we’ll adjust these settings. In Terminal, type:
sudo xattr -dr com.apple.quarantine
Make sure not to press Enter yet—there’s one more step.
Step 6: Add the Plugin Path to Terminal
After typing the command, add a space after the word “quarantine.” Now, drag and drop the WebPShop.8bi file from the Photoshop Plug-ins folder into the Terminal window. This will automatically add the file path to your command.
Step 7: Execute the Command
Press Enter, and Terminal will prompt you for your admin password. Enter your password to confirm the command. This command removes the security attribute, allowing the WebPShop plugin to function within Photoshop.
Step 8: Restart Photoshop and Verify Installation
Close and reopen Photoshop. Now, try opening a WebP file or saving an image in the WebP format. You should see the WebP option available in the format list, indicating successful installation.
Benefits of Using WebPShop Plugin on Mac
Adding WebP support through WebPShop provides several benefits:
- File Size Reduction: WebP images are smaller than other formats like JPEG or PNG, making them ideal for web use.
- Improved Load Times: Smaller files load faster, which improves website performance.
- Quality Retention: WebP keeps quality intact while reducing file size, creating a balance between aesthetics and speed.
If you often work with web-based content, the WebPShop Plugin on Mac can simplify your process and make managing WebP files easier.
Troubleshooting WebPShop Installation Issues
If the plugin doesn’t show up:
- Ensure the WebPShop.8bi file is in the Photoshop Plug-ins folder.
- Double-check that you followed the Terminal command correctly.
- Restart your Mac if issues persist.
Frequently Asked Questions
Is WebPShop Plugin Free to Use?
Can I use this method on Windows?
Is WebPShop Plugin Free?
What if I Don’t See WebP in the Options?
Conclusion
Setting up the WebPShop plugin on Mac might seem tricky at first, but by following these steps, you can add WebP compatibility to Photoshop without hassle. The WebPShop plugin opens new possibilities for designers and creators by making it easy to work with WebP files directly within Photoshop.
Hope this guide helps make the installation easier for you. Share it with others who might benefit!