Getting WebPShop up and running on Windows can open up a world of possibility for working with WebP files directly in Photoshop! Here’s an easy guide that walks you through the steps to install the WebPShop Plugin on Windows without a hitch.
What is WebPShop, and Why Install It?
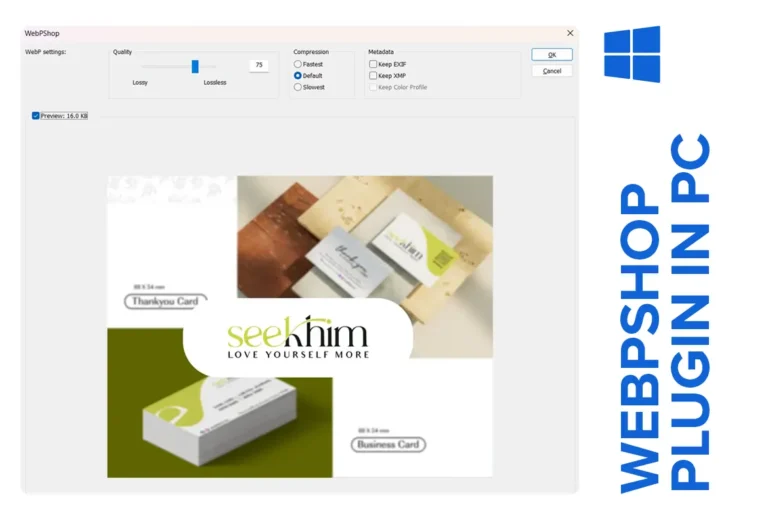
WebPShop is a free plugin that allows Photoshop users on Windows to open, edit, and save WebP images directly. With WebP’s efficient compression, you get smaller image sizes without losing quality—ideal for website designers looking to improve load times and save bandwidth.
How to Install WebPShop Plugin on Windows
Follow these simple steps to get the WebPShop Plugin installed and running smoothly on your Windows device.
Step 1: Download WebPShop Plugin
First, download the WebPShop Plugin for Windows from this GitHub link. You’ll get a file named WebPShop_0_4_3_Win_x64.8bi.
Step 2: Move WebPShop Plugin to Photoshop’s Plug-ins Folder
Locate the downloaded .8bi file in your Downloads folder. Then, move this file to the Photoshop plug-ins directory at:
C:\Program Files\Common Files\Adobe\Plug-Ins\CC
Step 3: Additional Folders to Try (If Needed)
If Photoshop doesn’t detect the plugin, you can also try placing the WebPShop Plugin file in one of these directories:
- C:\Program Files\Common Files\Adobe\Plug-Ins\CC\File Formats
- C:\Program Files\Adobe\Adobe Photoshop 2022\Plug-ins
Step 4: Restart Photoshop
Close and reopen Photoshop. This will enable Photoshop to detect the new WebPShop Plugin you just installed.
Benefits of Using WebPShop Plugin on Windows
- Smaller Files: WebP images take up less space than JPEGs or PNGs, which is ideal for web use.
- Faster Website Load Times: WebP images load faster, improving website performance and SEO.
- Quality Retention: WebP maintains high quality despite compression, striking a balance between size and visual appeal.